Deploying a React Web Application on IBM Hyper Protect Virtual Server for VPC
*CTO’s Notes: In our final piece of this series, we apply our refined deployment strategies to a different yet critical aspect – launching a React Web Application on IBM Hyper Protect Virtual Servers. This article illustrates our journey, highlighting how the lessons learned from our PostgreSQL deployment greatly influenced our approach, resulting in a more efficient, secure, and scalable web application deployment.
Today, we would like to walk you through the journey of building your React Web application docker container image in an IBM Z Virtual server instance(zVSI) on IBM Cloud and then deploying the image in a contract as an IBM Hyper Protect Virtual Server instance.
There are 6 steps in this journey:
Step 1: Launch an IBM Z Virtual server instance(zVSI) on IBM Cloud
Step 2: SSH into your zVSI and create your docker-compose and Dockerfile for your React Web Application
Step 3: Test your docker container image by running docker-compose up in your zVSI to ensure it runs well in s390x architecture
Step 4: Build your container image for s390x architecture and push it into IBM Container Registry
Step 5: Create the contract using Terraform
Step 6: Initialize your IBM Hyper Protect Virtual Server instance with the contract from Step 5
Before you begin,
You need to meet the following prerequisites:
- Create an IBM Cloud account.
- Create an API key for your user identity.
- Install IBM Cloud CLI and the container registry CLI plug-in.
- Install Git, Terraform, OpenSSL, Docker and Docker buildx
- Create a VPC and a subnet with a public gateway and a security group with rules that allow at least inbound IP connections on port 3000 and all outbound IP connections.
- Create a Log Analysis instance on IBM Cloud. Make a note of the ingestion host and the ingestion key.
Step 1: Launch an IBM Z Virtual server instance(zVSI) on IBM Cloud
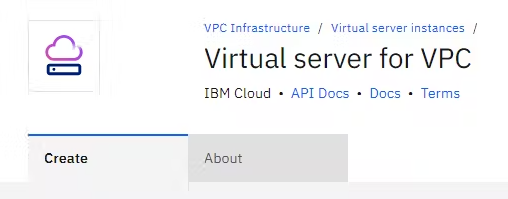
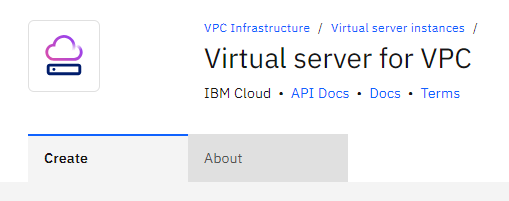
Go to the IBM Cloud catalog and select "Virtual Server for VPC"
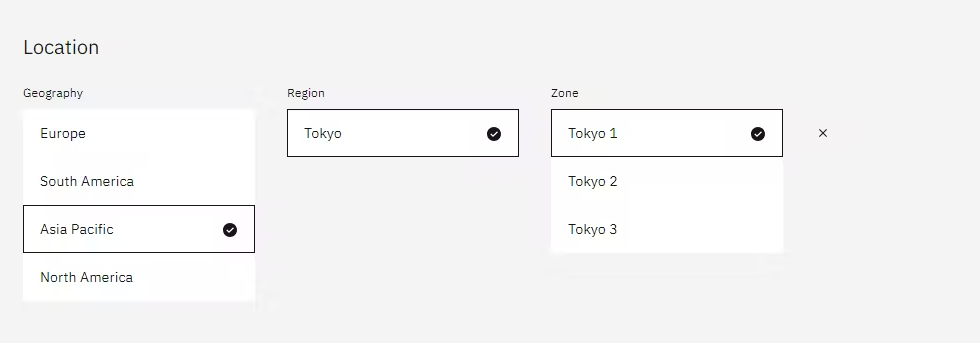
Choose your preferred location. For example, if you are in Singapore, select "Asia Pacific," and then choose the "Tokyo" region.
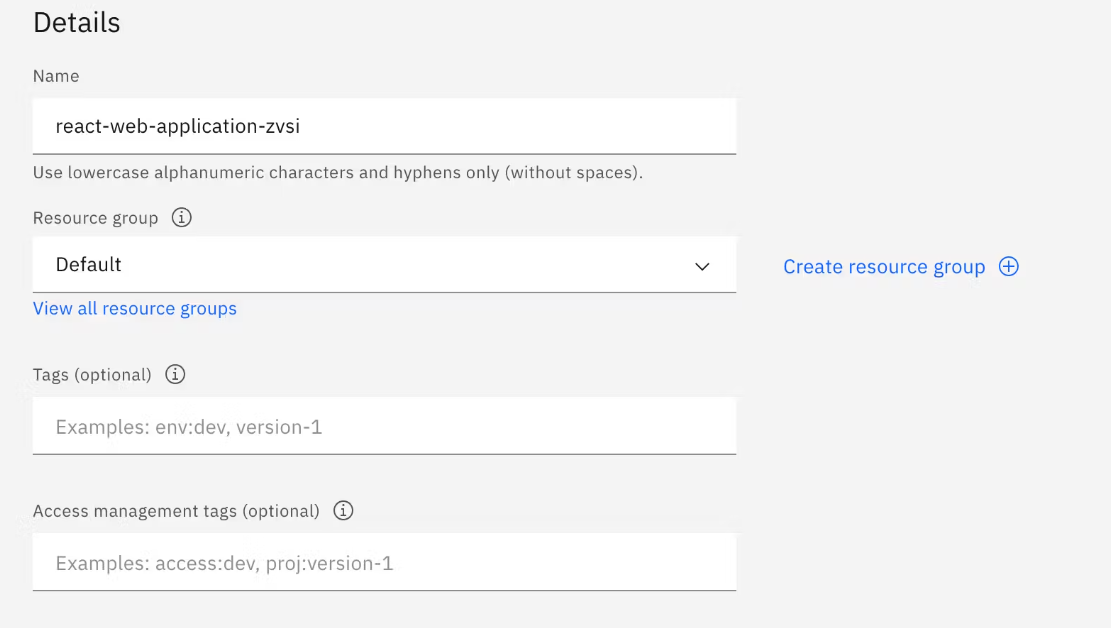
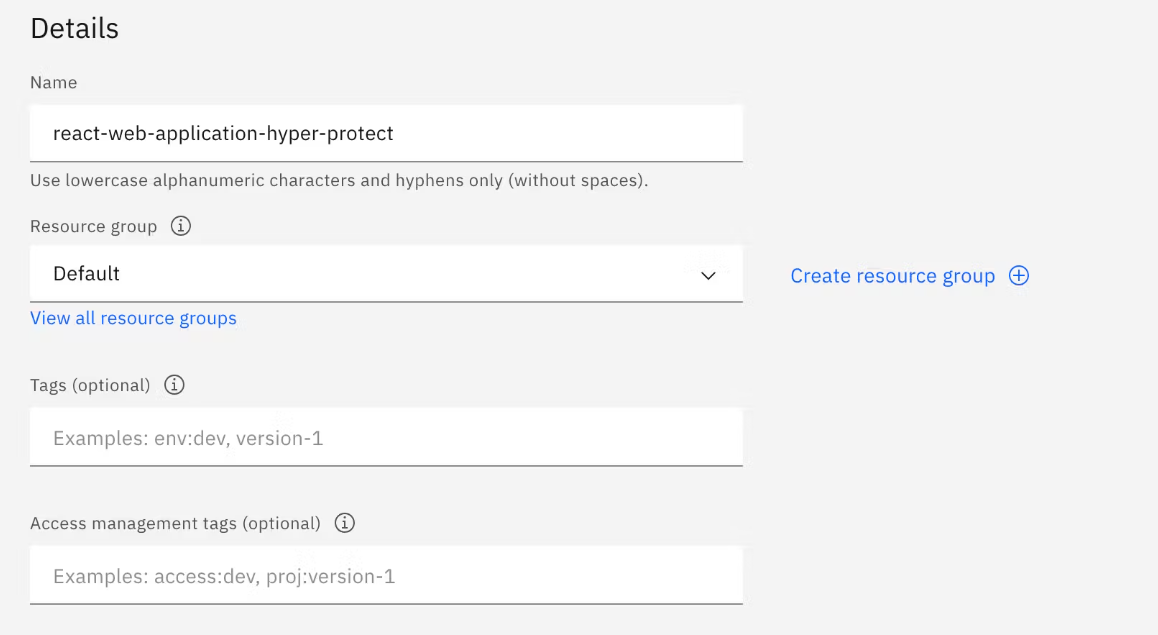
Give your instance a name.
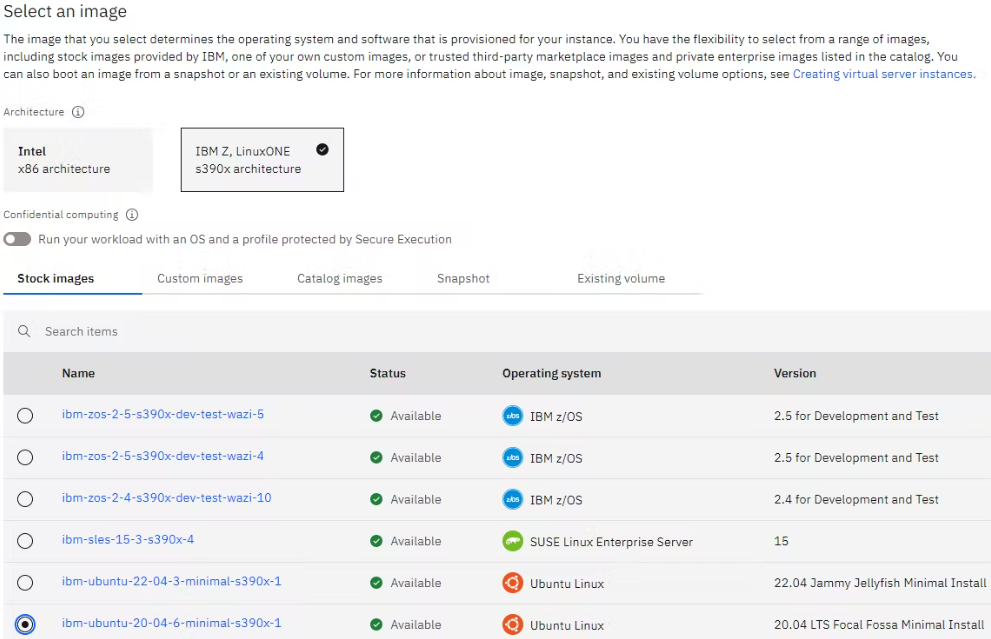
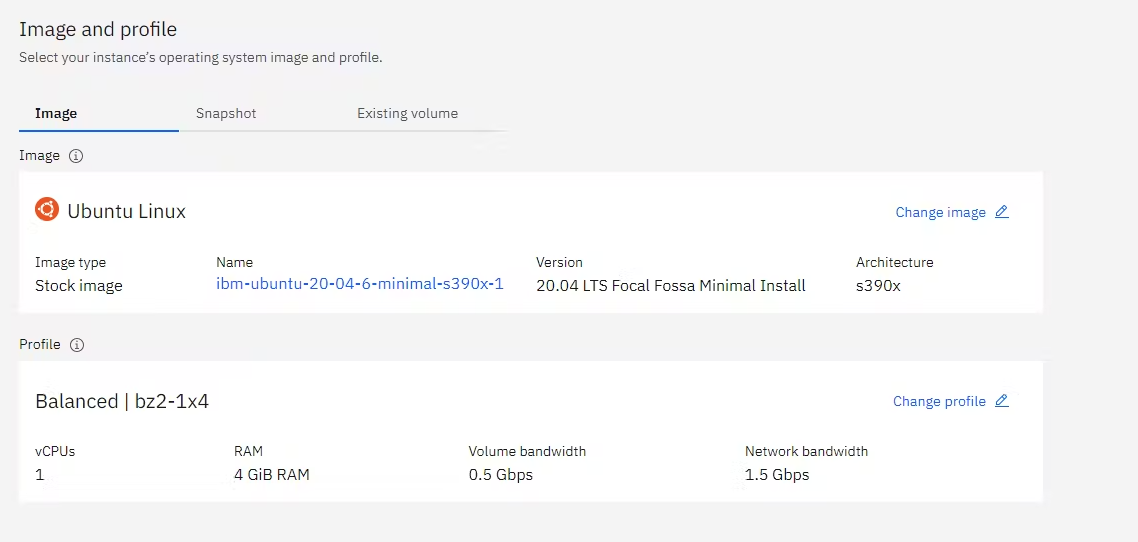
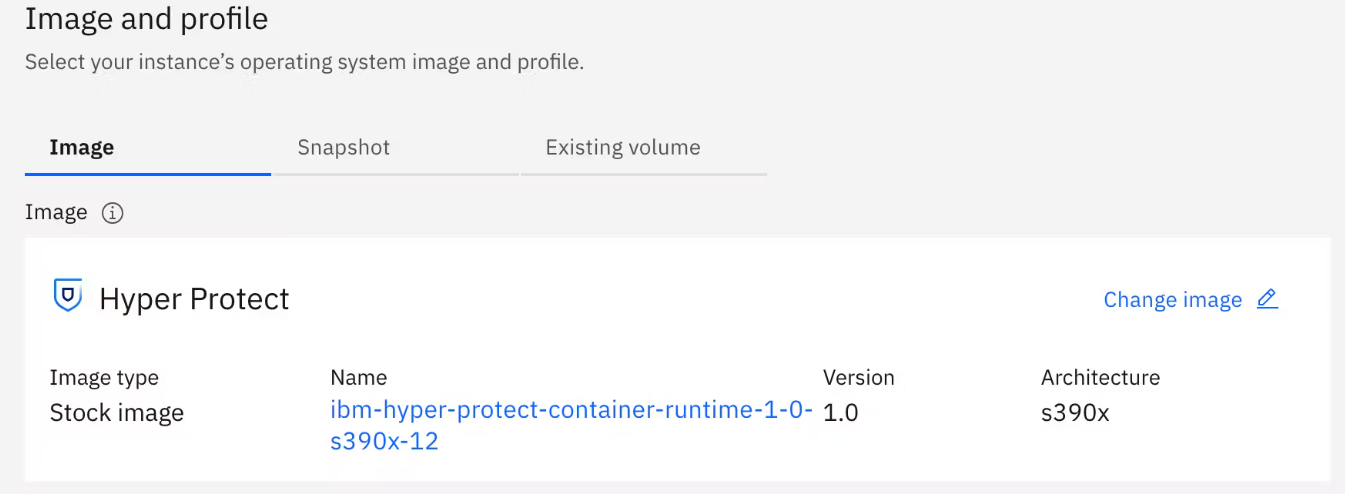
Select your preferred image. Under the Architecture section, ensure that you select the s390x architecture "IBM Z, LinuxONE".
Next, select your profile.
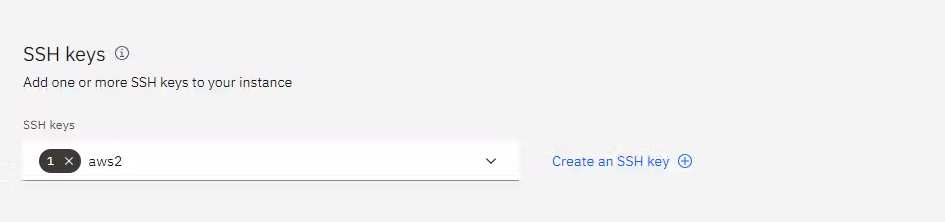
Choose an SSH key to use for accessing the instance. If you don't have an SSH key, you can follow the instructions to generate one.
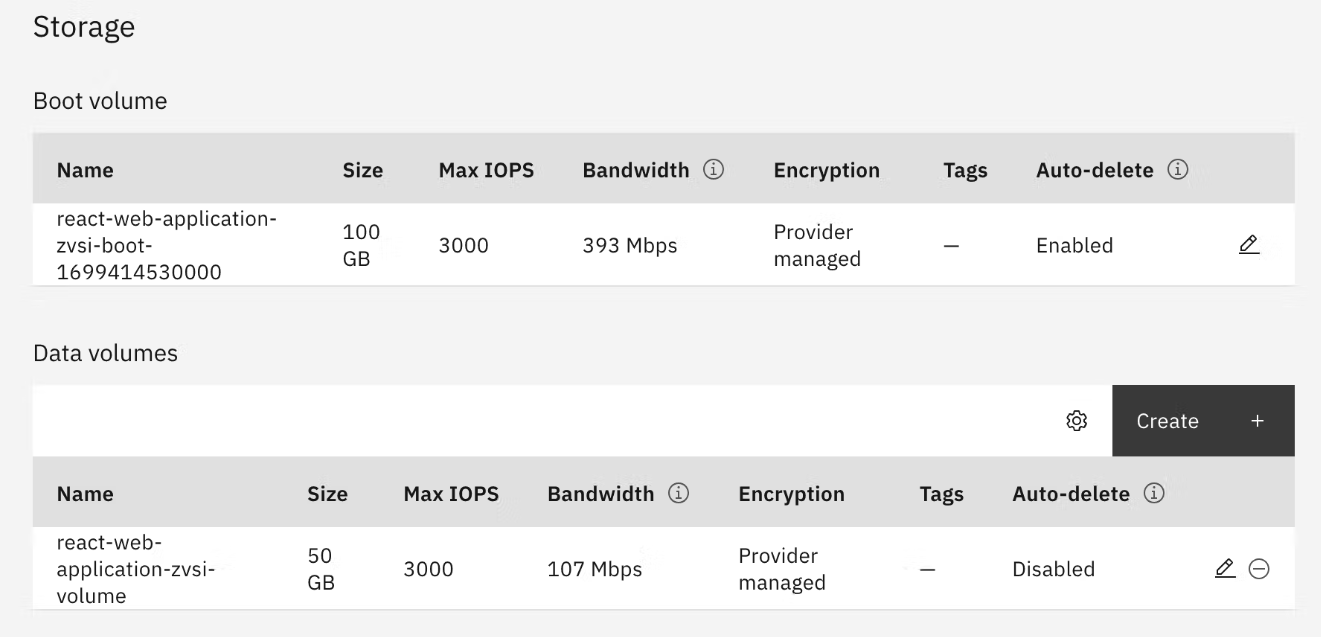
Optionally, add data volumes on top of the boot volume.
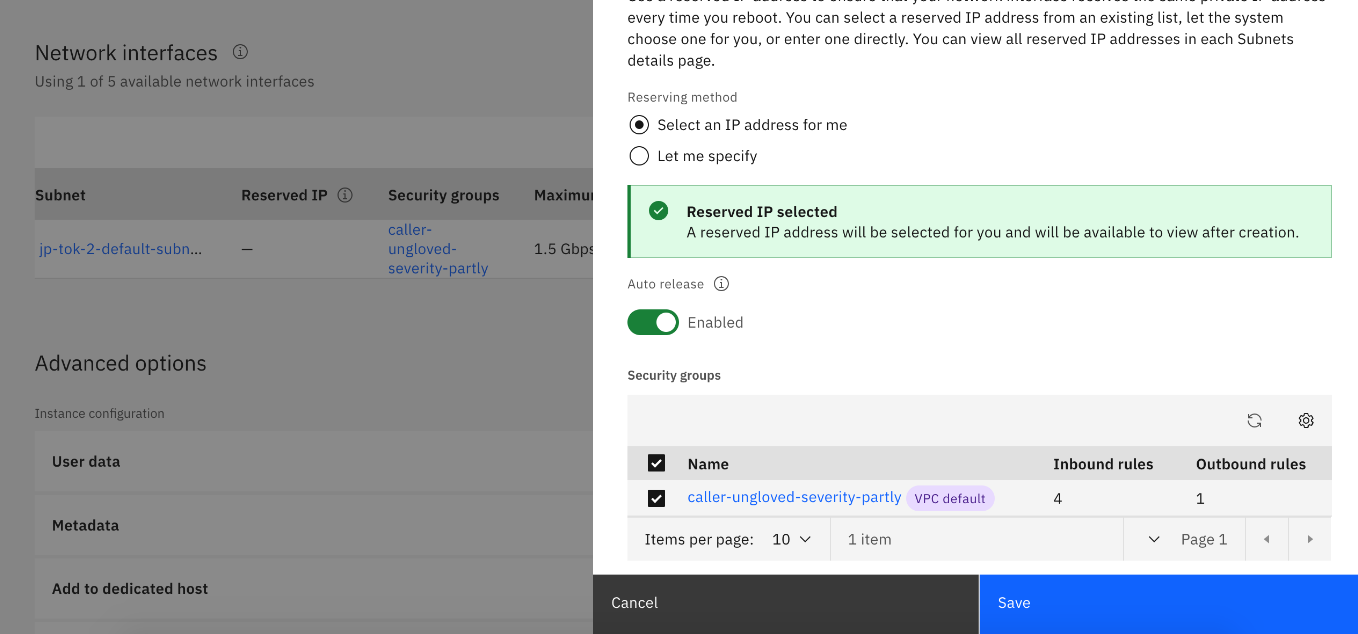
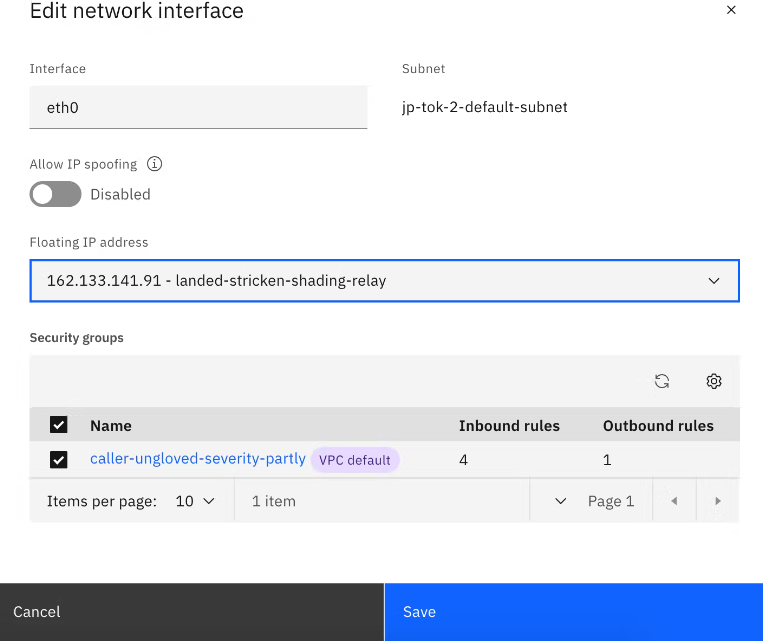
Configure your VPC (Virtual Private Cloud) and request a floating IP address for your instance.
Click the "Create virtual server" button. Your new virtual server will be provisioned and available for use shortly.

After your virtual server has been provisioned, assign a floating IP address to the new virtual server instance and click Save because you will need to SSH in the next step.
Step 2: SSH into your zVSI and create your docker-compose and Dockerfile for your React Web Application
Once your instance is provisioned, you can access it by SSH using the floating IP address and the SSH key you selected during the setup earlier.
ssh -i your-ssh-key.pem root@floating-ip-addressGit clone your React Web application repo
Cd to the working directory of your React Web application
Create your Dockerfile
FROM node:alpine

RUN apk update && apk upgrade --no-cache libcrypto3 libssl3

# Declaring env
ENV NODE_ENV production

# Setting up the work directory
WORKDIR /react-app

# Installing dependencies
COPY ./package.json /react-app
RUN npm install

# Copying all the files in our project
COPY . .

# Starting our application
CMD npm start
Create your docker-compose.file
version: '3'

services:
  react-app:
    build:
      context: .
      dockerfile: Dockerfile
    environment:
      NODE_ENV: production
    ports:
      - "3000:3000"
Step 3: Test your docker container image by running docker-compose up in your zVSI to ensure it runs well in s390x architecture
In the same working directory of your React Web application which contains your Dockerfile and docker-compose.yml, run the command:
docker-compose upVerify that the docker-compose up command is run successfully by running the docker ps -a command:
$ docker ps -a
CONTAINER ID   IMAGE                        COMMAND                  CREATED              STATUS                    PORTS                                       NAMES
4dd086fd5b20   aispikingcom-106_react-app   "docker-entrypoint.s…"   About a minute ago   Up About a minute         0.0.0.0:3000->3000/tcp, :::3000->3000/tcp   aispikingcom-106_react-app_1
It is important to ensure that your docker container is running well in your zVSI on s390x architecture. Similarly, you may use your browser to view the URL of your application e.g. http://localhost:3000 to ensure that your application running well as well.
Step 4: Build your container image for s390x architecture and push it into IBM Container Registry
Now that we have ensured that our docker container is working well in zVSI on s390x architecture, we are ready to push the container image into the IBM Container Registry.
In the same working directory of your React Web application which contains your Dockerfile and docker-compose.yml, build the container image for the s390x architecture and tag the container image with the following command:
docker buildx build --platform linux/s390x -t jp.icr.io/hpvs-spiking/react-web .where
jp.icr.io is the region of your IBM container registry
hpvs-spiking is a namespace in your IBM container registry
react-web is your application name
Log in to the IBM Cloud Container Registry with the following commands:
$ ibmcloud login -u iamapikey --apikey <your API Key>
API endpoint: https://cloud.ibm.com
Region: jp-tok
Authenticating...
OK
where
<your API Key> is the API Key of the IAM user you have created in your IBM cloud account
I have selected Japan-Tokyo as the region of my IBM container registry
You may use the command below to switch to another region e.g. us-south:
ibmcloud target -r us-southLastly, run the command:
ibmcloud cr login --client dockerCreate a namespace and push the container image by running the following commands:
ibmcloud cr namespace-add hpvs-spikingwhere
hpvs-spiking is a namespace in your IBM container registry
Push the container image you created earlier by using the command:
docker push jp.icr.io/hpvs-spiking/react-webDisplay the container image digest. You can view and note the container image digest in your container registry, or alternatively use the following command:
docker inspect jp.icr.io/hpvs-spiking/react-web | grep -A 1 RepoDigestsStep 5: Create the contract using Terraform
To provision the IBM Hyper Protect Virtual Server instance in the next step, you would need to first create a contract. You may create a contract manually or use Terraform which aids in reducing the time needed for contract creation.
Follow the steps below to use Terraform to create a contract:
Use Git to clone the repo
Move to the following directory with the command:
cd linuxone-vsi-automation-samples\terraform-hpvs\create-contract-dynamic-registryUpdate the docker-compose.yml file in the compose folder. You need to specify your container image digest and the exposed ports. See the following example of a docker-compose.yml file:
version: "3"
services:
  paynow:
    image: ${REGISTRY}/hpvs-spiking/react-web@sha256:<sha256>
    ports:
      - "3000:3000"
where
<sha256> is the image digest in your container registry
Set the required Terraform variables. To do so, you need to copy the file my-settings.auto.tfvars-template to my-settings.auto.tfvars, edit the copied file, and adapt the variable values. See the following example:
registry="jp.icr.io"
pull_username="iamapikey"
pull_password="<your API key>"
logdna_ingestion_key="<the ingestion key of your log instance>"
logdna_ingestion_hostname="syslog-a.jp-tok.logging.cloud.ibm.com"
where
jp.icr.io is the region of your IBM container registry
jp-tok is the region of your logging instance
<your API Key> is the API Key of the IAM user you have created in your IBM cloud account
<the ingestion key of your log instance> which you can retrieve on IBM cloud for your respective logging instance
To initialize Terraform, run the following command:
terraform initCreate the contract by using Terraform:
terraform applyDisplay the contract that is created with the Terraform script by running the following command:
cat build/contract.yml💡Copy the displayed contract. You need to paste the copied contract into the User Data text field in the next step.
Step 6: Initialize your IBM Hyper Protect Virtual Server instance with the contract from Step 5
- Log in to IBM Cloud.
- Go to the provisioning page for IBM Hyper Protect Virtual Server for VPC on the IBM Cloud catalog.
3. Name the virtual server instance
4. Ensure that the image is an IBM Hyper Protect image running on s390x architecture
5. Paste the created contract information into User data.

6. Under the Networking, select your VPC and subnet.
7. Click Create Virtual Server.
8. Assign a floating IP address to the IBM Hyper Protect Virtual Server Instance and click Save.
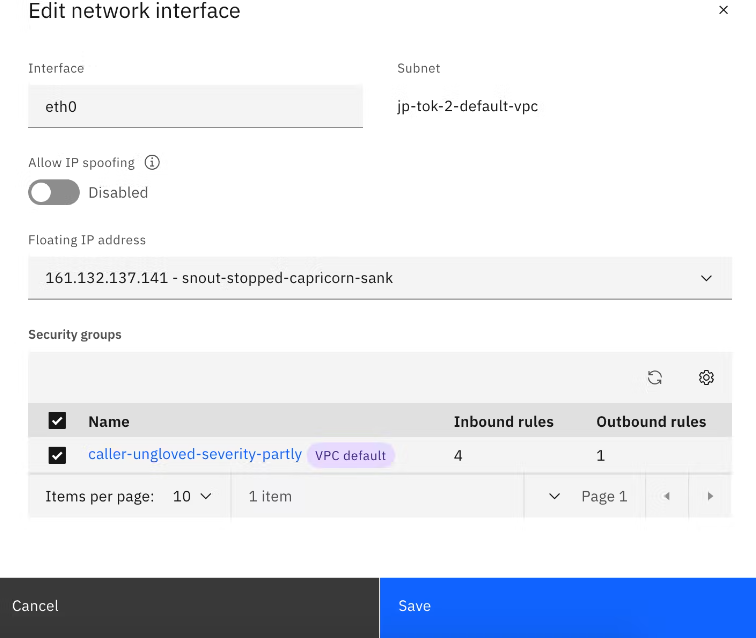
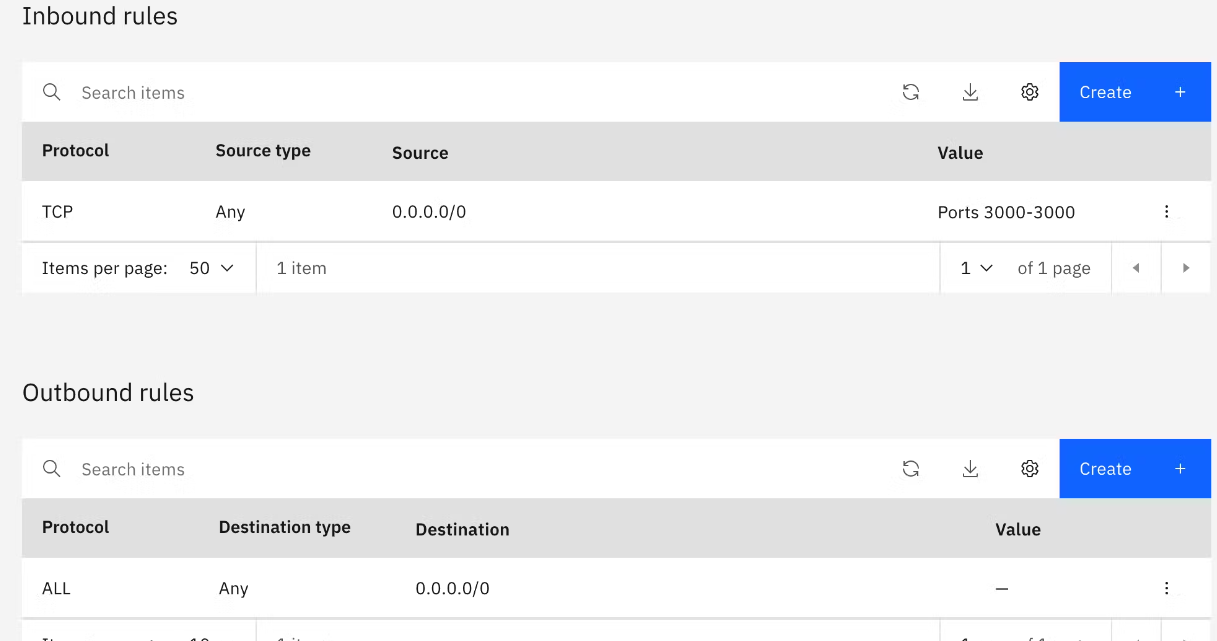
9. Under your security group, ensure that you allow at least inbound IP connections on port 3000 and all outbound IP connections so that in the very last step, you will be able to access your application via http://<floating-ip-address>:3000
10. View the logs in the Log Analysis instance dashboard.
11. Ensure that there's no error in the logs and that the IBM Hyper Protect Virtual Server instance is started successfully

12. To open your React web application, copy and paste the <floating-ip-address> and use your browser to open the website under the URL
http://<floating-ip-address>:3000